Contact Us Today!
Garage Floor Coating Installation Process
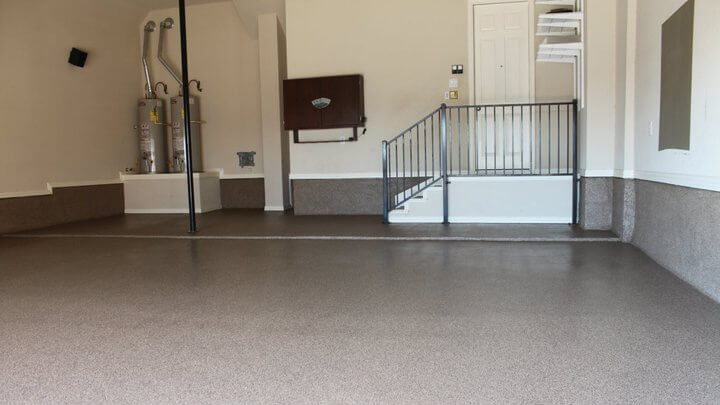
For over two decades, our innovative process has been refined to ensure that your garage floor will have style and sophistication that lasts for years. In just 2 to 4 days, your garage floor can be protected against weathering, cracking, oil, chemicals, and moisture with the expertise of our garage floor coating installers in and around the Minneapolis area.
1
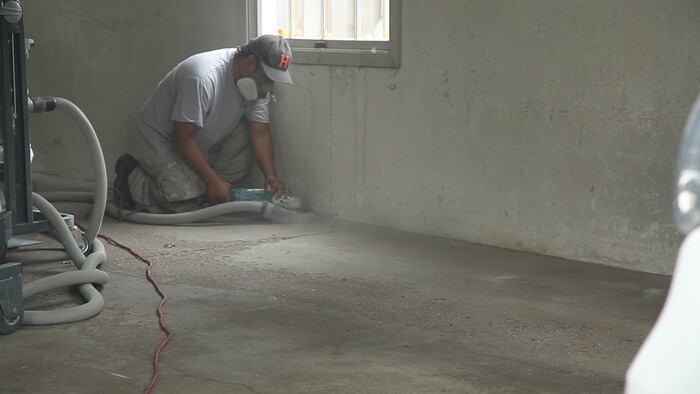
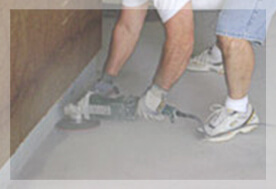
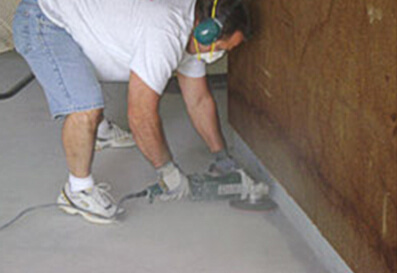
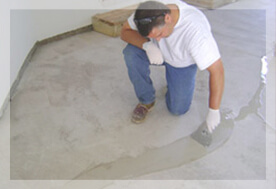
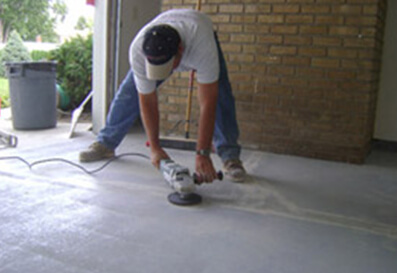
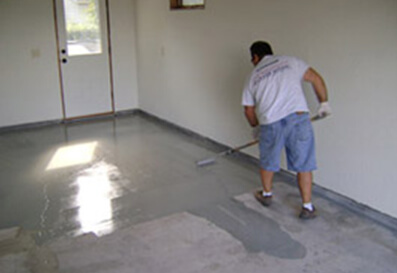
Stage One
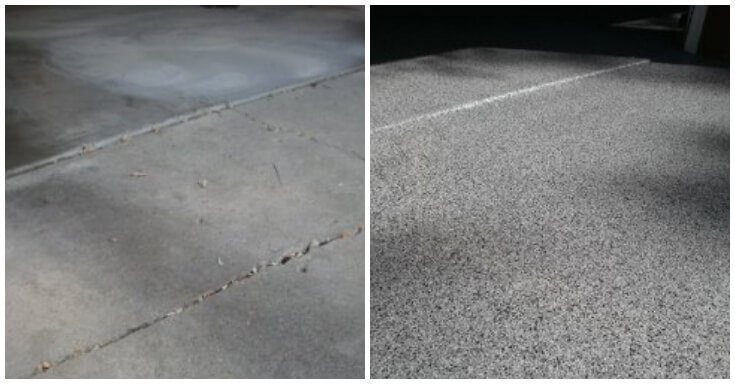
Each of our garage floor coating installers is an expert in concrete repair and is experienced in evaluating and preparing your concrete floor to meet our rigorous standards. The first step is the most critical, so we prepare the surface with the best diamond grinders on the market: LAVINA® diamond grinders. GFC garage floor coating installers proudly utilize this world-renowned equipment series produced by Superabrasive Inc, an industry leader for high-end grinding equipment. This grinding process is paramount to achieving a porous and contaminant-free surface.
2
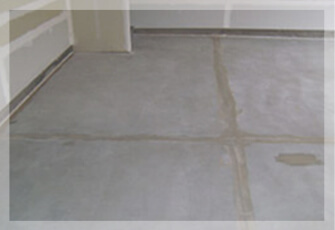
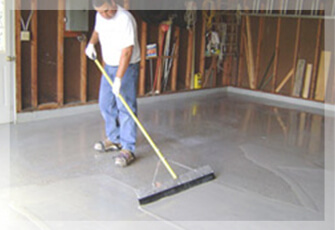
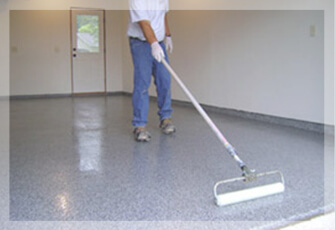
Stage Two
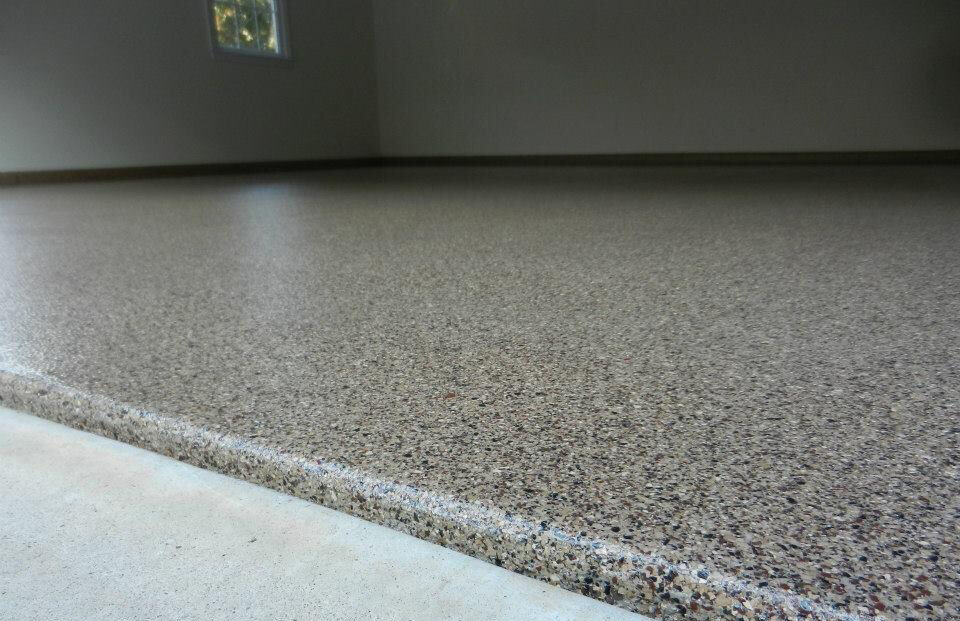
Our process is continued by applying a prime coat and is followed by any crack and divot repair. The expansion joints (if applicable) are partially filled with elastomeric sealer. Next, the base coat is applied by our garage floor coating installers, followed by the broadcast of UV-dipped vinyl chips directly into this coat.
3
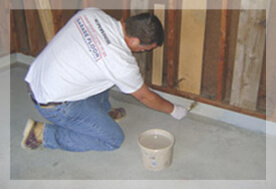
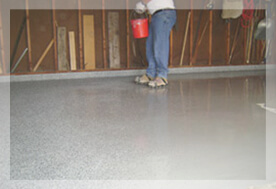
Stage Three
The third stage of our process entails sanding and/or scraping the surface to achieve the desired amount of texture. Our garage floor coating installers in Minneapolis take necessary precautions to keep the dust to a minimum. This stage is completed by the application of clear coat(s) and the integration of anti-slip aggregate.
4
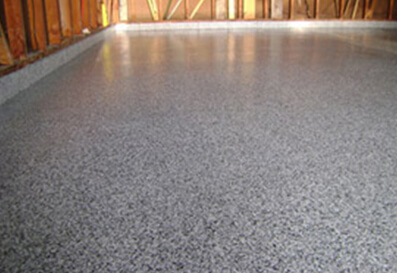
Stage Four (If Applicable)
If applicable, the surface is lightly sanded and an additional clear coat is applied. Our quick-curing process will allow you to walk on the floor within 24 hours, and you can usually park your car on your new floor after only 48 hours.
5
Stage Five (If Applicable)
Depending upon your system choice, you may receive one to two clear coat layers. At times, it will be necessary to return at a later time for the second clear coat – such as with Liquid Stone systems or if other circumstances call for two visits. For exterior and garage projects, an anti-slip additive is applied to your final clear coat application unless otherwise instructed by the client. You have many options for your anti-slip needs.
*Depending on scheduling, more than one stage can be performed in one visit
Frequently Asked Questions
-
Should I replace or repair my concrete?
-
What are the differences between polyhybrid, polyurea, and polyaspartic coatings?
-
Is your product epoxy?
-
Can I get help financing my project?
-
How are jobs scheduled and completed?
-
How much time will the crew spend on my project?
-
Do I have to be home during this project?
-
Will there be any odor during the process?
-
Will there be any dirt residue or dust due to the process?
-
Will my floor look brand new?